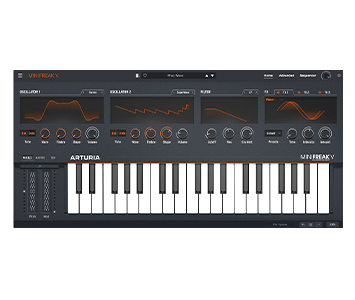
MiniFreak V
Zweifacher algorithmischer Soft-Synth
1. Lade und installiere das Arturia Software Center (ASC)
Mit dem Arturia Software Center (ASC) kannst du deine virtuellen Arturia-Instrumente auf deinen Computern installieren, aktivieren und auch aktualisieren.
Hier kannst du auf deine Arturia-Software zugreifen, sowie Demo-Versionen für andere Software-Produkte aus unserem Arturia-Katalog laden.
2. Log dich in das Arturia Software Center ein
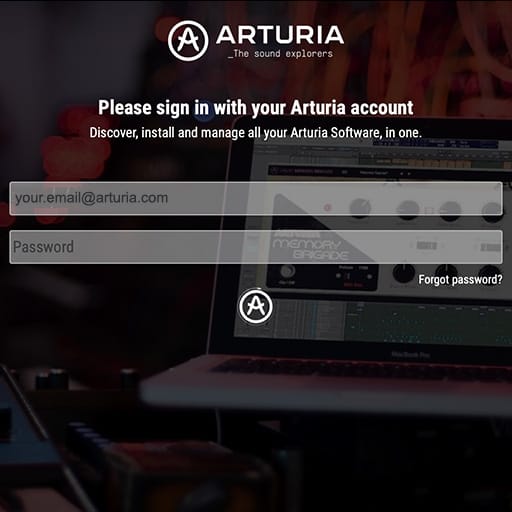
Gib die gleiche E-Mail-Adresse und das gleiche Passwort wie für dein Mein Arturia-Konto ein. Du findest dann deine Produktlizenz im Hauptfenster.
Wenn du noch kein Arturia-Konto hast, klick auf "Create Account" und folge den Anweisungen, um ein neues Konto anzulegen.
Wenn du einen Computer ohne Internetverbindung verwendest, befolge bitte das in diesem dieser Artikel beschriebene Verfahren.
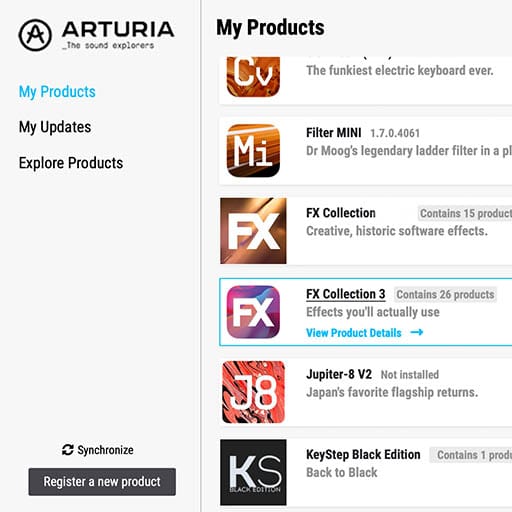
Wenn du deine Software-Lizenz auf der Arturia-Website erworben hast, wurde diese automatisch in deinem Konto registriert. Klick ansonsten oben im Hauptfenster auf die Schaltfläche “Register a new product”.
3. Installiere und aktiviere dein Produkt im ASC
Such in der Liste nach deinem Produkt und klick auf die Schaltfläche „Install“, um den Installationsprozess zu starten.
Beim ersten Mal wirst du aufgefordert, die Zielordner zu definieren.
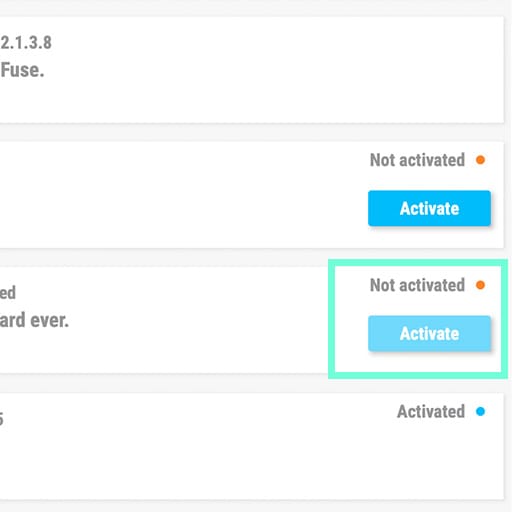
Dein Produkt bleibt im Demo-Modus, bis es aktiviert wird. Klick dazu auf die Schaltfläche "Aktivieren". Dein brandneuer Effekt wird dann aktiviert.
Du kannst die Software jetzt ohne Einschränkung auf bis zu fünf verschiedenen Computern gleichzeitig verwenden. Wiederhole dazu diesen Vorgang auf deinen anderen Computern.
4. Starte dein Produkt
Dein Produkt ist nicht als Standalone-Software verfügbar.
Die Verwendung setzt eine DAW (Digital Audio Workstation) voraus.
Klicke auf die schaltflächen, um zu erfahren, wie du deinen neuen Effekt in den gängigsten DAWs auswählst und einsetzt:
Entdecken. Experimentieren. Genießen.

Ableton Live
Bitwig

Cubase

FL Studio
Logic Pro X

Pro Tools
Studio One
Digital Performer
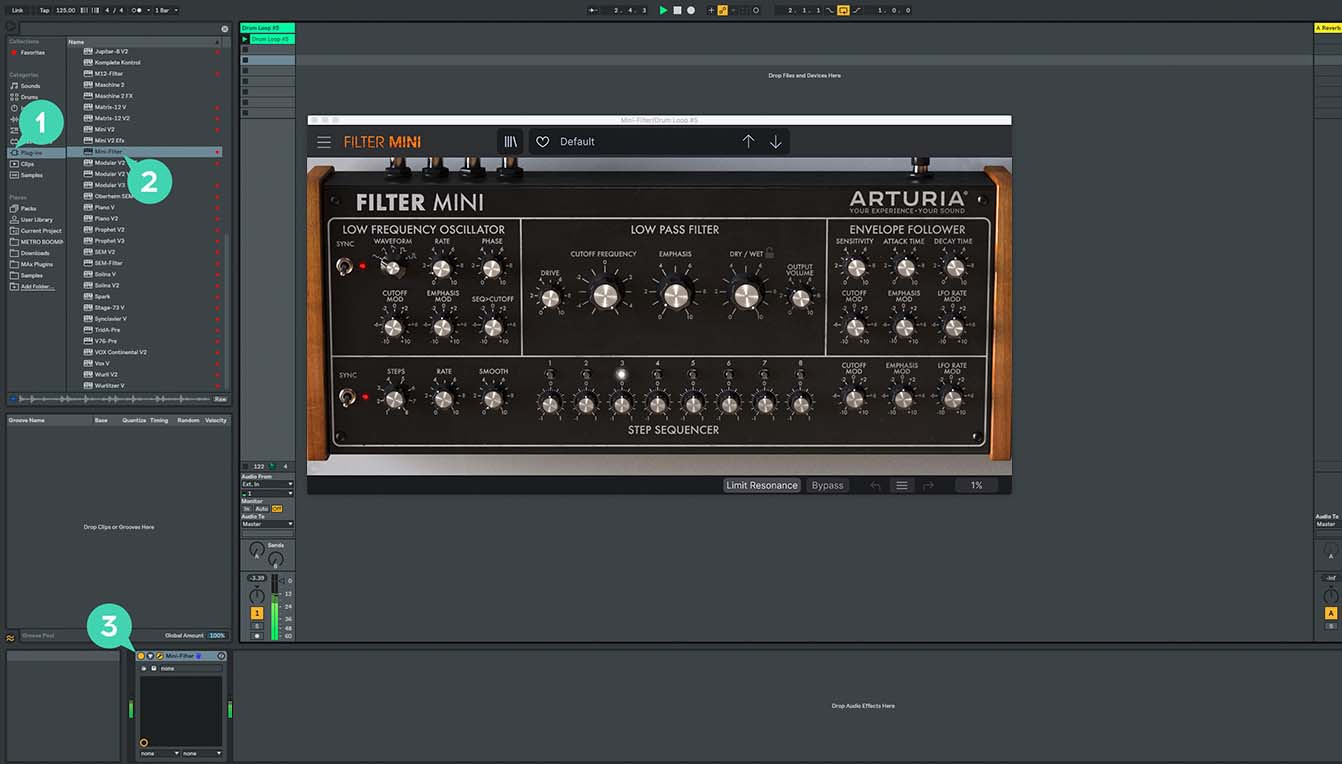
Für Ableton Live
1/ Öffne den Live-Browser und klicke auf den „Plug-Ins“-Bereich.
2/ Such im VST- oder Audio Unit*-Ordner nach dem virtuellen Effekt deiner Wahl.
3/ Ziehe diesen per Drag & Drop in deinen Track oder Effekt-Returnkanal.
MiniFreak V
Tutorials
Tutorials | MiniFreak V - Overview
Explore the MiniFreak hardware counterpart - MiniFreak V.
Sound designer Matt Pike takes you on a journey to explore MiniFreak V - fully independent software synthesizer which is a counterpart of the hardware MiniFreak. In this video you will learn about its features, hear how it sounds, and see how well it integrates with the hardware machine.
Tutorials | Update 4.0 | Vocoder
In this in-depth tutorial, we'll walk you through everything you need to know to harness the creative power of the MiniFreak's new vocoder capabilities. Discover how to set it up, explore its unique parameters, and start transforming your voice, drums, and other audio sources into incredible new textures. Whether you're aiming for classic robot vocals or groundbreaking sound design, Update 4.0 opens up a universe of sonic possibilities for your Freak.
Tutorials | Track Breakdown | MiniFreak FW 3.0 - Culprate
Granular Power: Inside a Full Track!
Discover how MiniFreak's new granular engines add some incredible sonic energy to a production by Culprate. Yetundey breaks down some of the key sounds used in the track and shows us the power and range of the new engines!
Tutorials | MiniFreak Update 3.0 | What's new
Yetundey walks you through the killer new features of firmware 3.0 for the MiniFreak, unlocking the full potential of granular synthesis. With 8 new engines, granular-focused samples, an expanded factory bank, and more, this update takes your Freak to the next level of sonic exploration.
MiniFreak V
So gehts
Tutorials | How To | Use paraphony for cinematic sounds
MiniFreak & MiniFreak V's voices can be extended to 12 with paraphony, letting you produce powerful, dense sounds. In this video, Lena shows you how to set yours up for truly cinematic musical soundscapes using more voices.
Tutorials | How To | Process external audio sources
External audio processing is one of MiniFreak & MiniFreak V's most creative talents - take advantage of its filters, distortions, and effects to breathe new life into your sounds and instruments.
Tutorials | How To | Use macros for expressive patches
MiniFreak & MiniFreak V's customizable macros play a central role in the instrument's arsenal of performance tools. Explore how to use them to inject drastic changes to tone and rhythm for bringing your ideas to life.
Tutorials | How To | Create Performative Arpeggios
In this video, Lena shows you how to create evolving generative melodies using a combination of MiniFreak & MiniFreak V's features, centering on the arpeggiator.
Tutorials | How To | Create Your Own LFO Shapes
Follow Lena to explore the LFO Shaper built into both MiniFreak and MiniFreak V, which allows you to create your own custom LFOs to radically shape, transform, and animate your sound design.
MiniFreak V
Software
Handbücher
MiniFreak V DE Manual
Versionde - 4.0.0|39.9 MB|7/4/2025
Du benötigst weitere Hilfe?
Unser Support-Team hilft dir gerne weiter bei Fragen zum Einsatz von Arturia-Instrumenten. Du kannst uns über diese Seite kontaktieren:
Nach Hilfe fragen