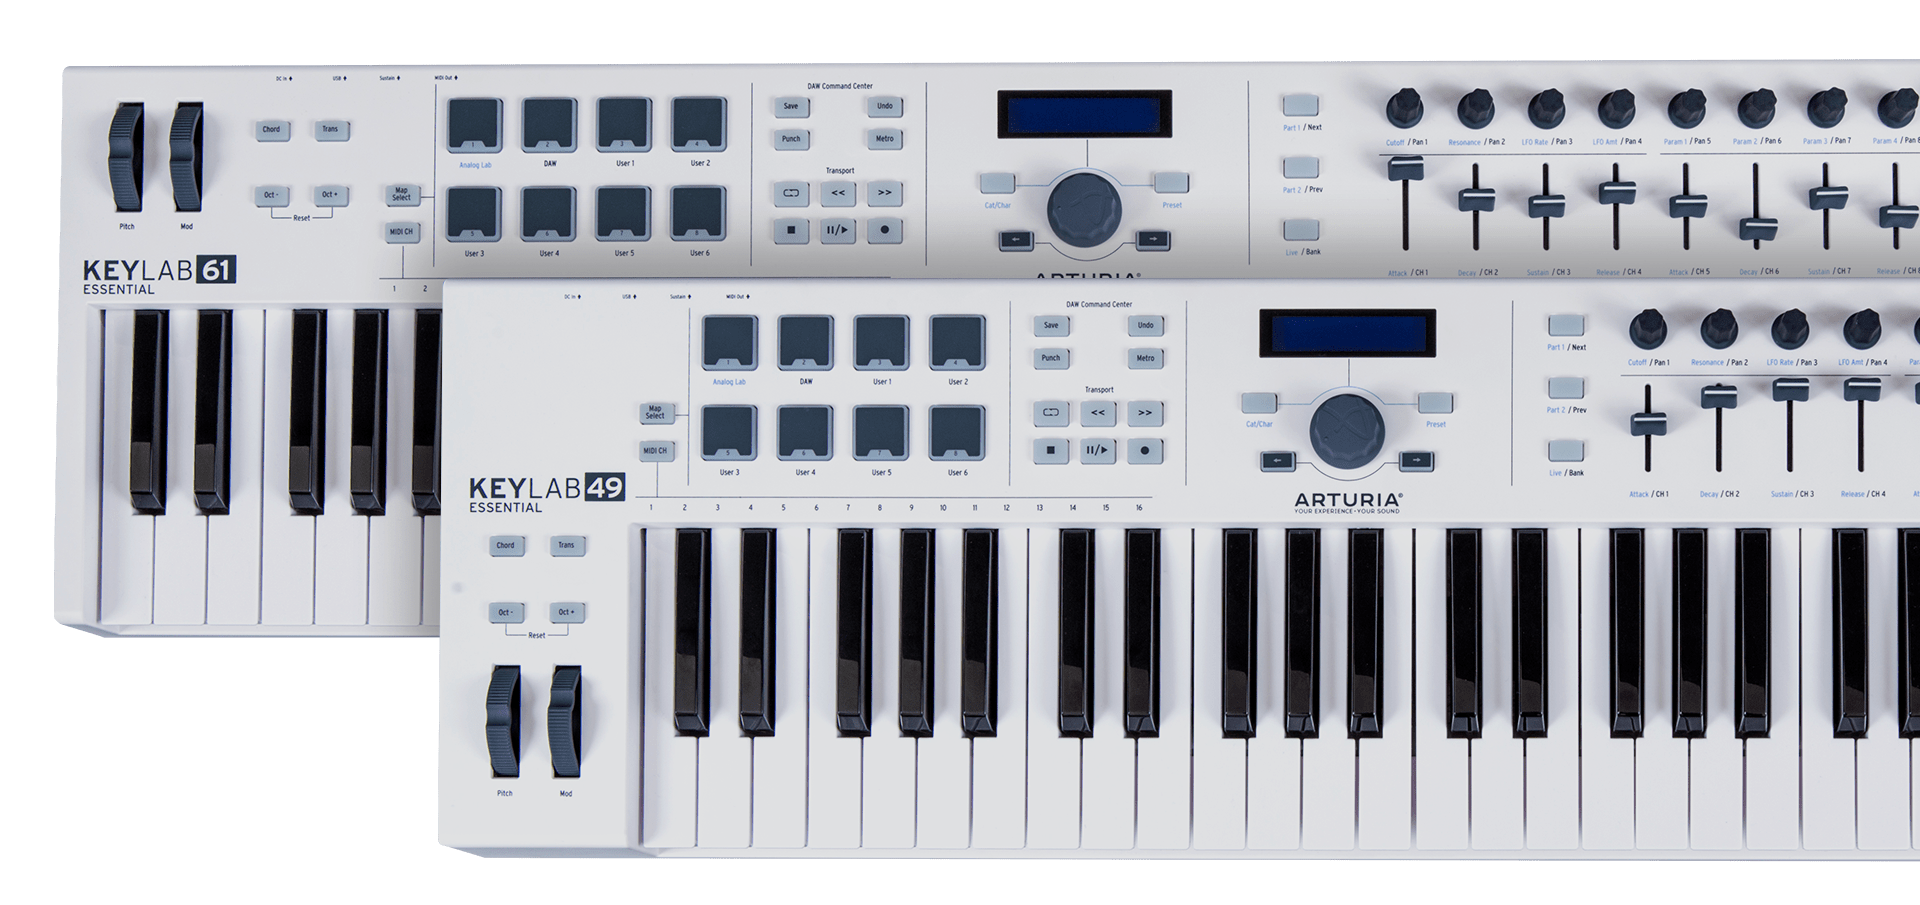
Thank you for purchasing KeyLab Essential!
This page will guide you through the quick steps to get your controller keyboard and the associated virtual instruments up and running.
How to get started
01
Create account
Go to the Account Creation page to create your MyArturia account. Be sure to validate your account by clicking on the dedicated link in the email you will receive.
Create your account02
Register your product
Go to the Product Registration page. Enter your serial number and unlock code. You can find them on the quicktart sheet inside the box of your product.
Register your product03
Download & install ASC
Download and Install the Arturia Software Center. The Arturia Software Center (ASC) lets you activate, install and update your Arturia virtual instruments on your computers.
04
Activate your product
Launch the Arturia Software Center and login using the email address and password of your MyArturia account. Once logged in, the main screen will display your Keylab essential License to which is linked an Analog Lab license. Click on the green “Activate” button.
05
Install your products
Click on the "Keylab essential" row to unfold it and display Analog Lab as included instruments. Then click on the “Install” button to launch the silent installation process. You will be asked to define the destination folders on the first time.
06
Install the MIDI Control Center
Download and Install the Arturia MIDI Control Center (MCC). The MIDI Control Center (MCC) is a common companion software for all the Arturia controllers. It also allows you to update their firmware.
How to update
my KeyLab Essential firmware?
Updating your KeyLab firmware will ensure you to enjoy your new controller at its best.
A firmware update may already be available for your KeyLab Essential. Please make sure to follow the next steps to get this one applied.
01
Connect your KeyLab Essential to your computer via the USB connection. Make sure not to use a USB hub
02
Launch the MIDI Control Center.
03
If it is not immediately displayed, select the KeyLab Essential in the “Device” drop-down list in the top-left corner.
04
The firmware section (just underneath) indicates the current firmware version and, if you are connected to internet, the latest firmware available.
05
Click on this button to launch the update process :
After few seconds, your KeyLab Essential will automatically reboot to finalize the process.
Installation
of Ableton Live Lite
Updating your AudioFuse firmware will ensure you to enjoy your new interface at its best.
01
Go to your My Arturia account page to find your serial number. Click on the button "My Products" and display the details about your product by clicking on "More info...". The serial number will appear as part of the Additional Licenses.
02
Download Live Lite from here: Ableton.com/live-lite.
03
Launch Ableton Live Lite.
04
Live will guide you through an authorization process and you will be asked for a serial number. Use the one obtained above.

Register and activate your UVI Grand Piano Model D
All steps are summarized in this video:
- Go on www.ilok.com , download the iLok version for your computer and install it.
- Start the iLok License Manager and login (if you don’t have an account, follow the link to create an account on iLok Video resources
Important note: don’t forget to check your mails, confirm your email address and activate your iLok account.
2 - Get the UVI Workstation
- Go to UVI product page
- Select the “DOWNLOADS” TAB under the presentation:

- Download the UVI Workstation 2.5.4 for your System
- UVI Workstation for Mac OS X
- UVI Workstation for Windows
- UVI Workstation for Windows (x64)
- Install the UVI-WORKSTATION – follow the steps Important note: UVI requires the UVI Workstation to play the UFS pack.

- Go to your MyArturia account . You will find the serial number for UVI Grand Piano Model D in the bundled software of your registered KeyLab
- Log into (or create) your account on www.uvi.net/en/authentication
- Fill the “Create your account” formular
- Go into your account to register a product: www.uvi.net/en/register?module=uvi
- Type in the serial number you found on your MyArturia page and enter your iLok user ID
- You will receive an email containing the information about the registration
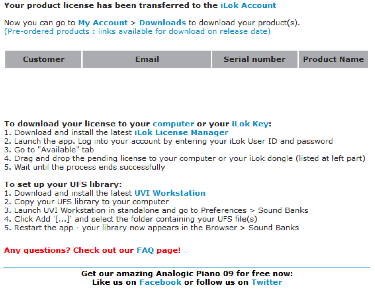
- In the meantime, you are redirected to your products page www.uvi.net/en/index.php?controller=my-products .
This page allows you to download your UFS pack for The Grand Piano Model D. - Install it.
- After you register your product on UVI.net, a license will be deposited in your iLok account. Launch the iLok License Manager and click on activate.
- If needed, you can find additional information on the UVI FAQ page: www.uvi.net/en/content/124-faq
Manuals
The manuals for your product can be found here
Modes d’emploi
| Name | Date | Size | Version | Download |
|---|---|---|---|---|
Jan 14, 2020 | 6.56 MB | 1.0.3 | ||
Jan 10, 2020 | 6.62 MB | 1.0.3 | ||
Jan 3, 2020 | 18.88 MB | 1.0.3 | ||
Jan 3, 2020 | 6.55 MB | 1.0.3 | ||
Jan 3, 2020 | 6.57 MB | 1.0.3 |
Modes d’emploi
| Name | Date | Size | Version | Download |
|---|---|---|---|---|
Jan 14, 2020 | 6.56 MB | 1.0.3 | ||
Jan 10, 2020 | 6.62 MB | 1.0.3 | ||
Jan 3, 2020 | 18.88 MB | 1.0.3 | ||
Jan 3, 2020 | 6.55 MB | 1.0.3 | ||
Jan 3, 2020 | 6.57 MB | 1.0.3 |
Need more help ?
Our support team is happy to help you with questions on how to use Arturia instruments. You can contact them from this page :
www.arturia.com/support/ask-for-help